
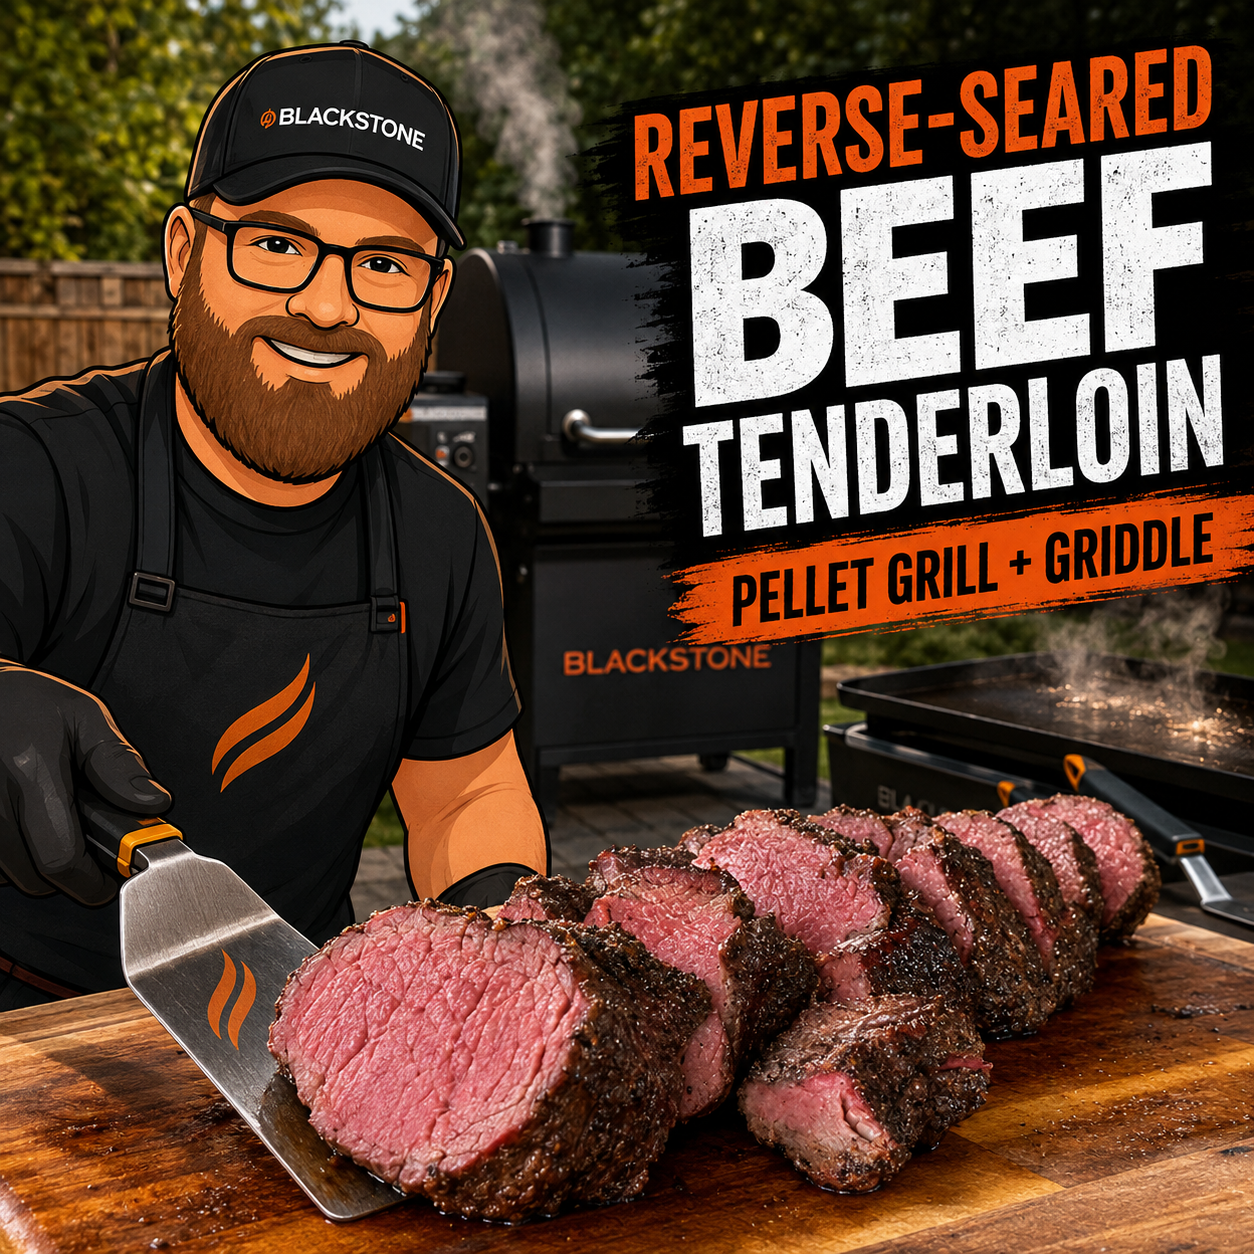

Low-and-slow smoke from the pellet grill. A hot, even crust from the griddle. Using both Blackstone cooking surfaces turns an already impressive beef tenderloin into something truly special.
Beef tenderloin is one of those cuts that does not need much help.
It is naturally tender, cooks relatively quickly, and makes an impressive centerpiece for a holiday meal, dinner party, or special weekend cook. The challenge is preparing it so that the center reaches the right temperature without overcooking the outside.
That is exactly why I like the reverse-sear method.
Instead of beginning with intense heat, the tenderloin cooks gently on the Blackstone pellet grill. This gives the meat time to absorb wood-fired flavor while gradually and evenly approaching the desired internal temperature.
Once the center is almost where I want it, the tenderloin moves to a screaming-hot Blackstone griddle. The flat cooking surface creates direct contact across the meat, producing a deeply browned crust in only a few minutes.
You get smoke from the pellet grill, sear from the griddle, and much more control over the final temperature.
It really is the best of both worlds.
What Is a Reverse Sear?
A traditional sear-first method begins by browning the outside of the beef and then moving it to a lower-temperature environment to finish cooking.
A reverse sear does exactly what the name suggests.
First, the meat cooks slowly at a lower temperature. Then it finishes over intense heat to develop its crust.
Blackstone uses this same basic approach in several of its recipes. Its reverse-seared tri-tip and tomahawk ribeye methods begin in a pellet grill or smoker at 250°F before moving the meat to a hot griddle for the final sear. Blackstone’s filet mignon recipe similarly recommends removing the steaks from the pellet grill before they reach their final temperature and finishing them on the griddle.
The method is especially useful for a thick cut such as beef tenderloin because it gives you greater control over the center while still providing the flavorful exterior everyone wants.
Why Use Both the Pellet Grill and Griddle?
You could prepare beef tenderloin entirely on a pellet grill or entirely on a griddle.
Using both, however, allows each cooker to do what it does best.
The pellet grill builds flavor and cooks gently
The Blackstone pellet grill provides steady indirect heat and exposes the tenderloin to wood smoke. Because the meat is not sitting directly against a scorching surface, the temperature rises gradually.
That slower cooking stage helps reduce the thick gray band of overcooked meat that can develop just beneath the surface when a large tenderloin is exposed to high heat for too long.
Blackstone describes its 900 Pellet Grill as a tool for infusing food with smoke flavor while monitoring and regulating longer cooks.
The griddle builds the crust
Once the tenderloin has nearly reached its final internal temperature, it needs intense heat quickly.
That is where the Blackstone griddle shines.
The entire exterior of the beef can make direct contact with the hot steel. Blackstone specifically promotes the full-surface sear of its griddles as providing more contact, flavor, and crust.
Instead of leaving the tenderloin over high heat long enough to continue cooking deep into the center, you can brown each surface rapidly and remove it.
Ingredients
This method can be adapted to your preferred seasoning profile, but here is a good starting point:
- One center-cut beef tenderloin roast, approximately 2–4 pounds
- Kosher salt
- Coarse black pepper
- Garlic powder
- Onion powder
- Your favorite Blackstone steak seasoning, optional
- Avocado oil or another high-heat cooking oil
- Butter, optional
- Fresh garlic, optional
- Rosemary or thyme, optional
You will also need:
- A Blackstone pellet grill
- A Blackstone griddle
- Wood pellets of your choice
- A reliable leave-in meat probe
- An instant-read thermometer
- Butcher’s twine, if the tenderloin is not already tied
- Tongs
Choosing and Preparing the Beef Tenderloin
A whole beef tenderloin naturally tapers from a thick center toward a narrow end. That uneven shape can cause the thin portion to overcook before the center is ready.
For the most consistent result, use a center-cut tenderloin roast or fold the narrow tail underneath before tying the roast with butcher’s twine.
Tying the tenderloin helps it maintain a relatively uniform shape. A uniform roast cooks more evenly and is also easier to turn during the final griddle sear.
Remove any silver skin that remains on the outside. Silver skin does not break down like fat and can become tough when cooked.
Pat the tenderloin completely dry with paper towels before adding the seasoning. A dry exterior will accept the seasoning more evenly and eventually brown more effectively on the griddle.
Seasoning the Tenderloin
Beef tenderloin has a mild flavor compared with fattier cuts such as ribeye. That makes seasoning especially important.
At minimum, season it generously with kosher salt and coarse black pepper.
I also like adding garlic powder and onion powder. A Blackstone steak seasoning can provide another layer of flavor without making the process complicated.
Lightly coat the outside with oil before applying the seasoning, or apply the seasoning directly to the dry meat. Press it gently onto every surface, including both ends.
For deeper seasoning, you can prepare the tenderloin several hours ahead and leave it uncovered in the refrigerator. Before cooking, allow enough time to prepare your equipment, but do not leave raw beef sitting unrefrigerated for an extended period.
Step 1: Preheat the Blackstone Pellet Grill
Set the pellet grill to 250°F.
That temperature matches Blackstone’s reverse-seared tri-tip and tomahawk methods and provides a good balance between gentle cooking and reasonable cooking time.
Choose pellets that complement beef.
Good options include:
- Oak
- Hickory
- Mesquite
- Pecan
- A competition-style blend
Beef tenderloin is not usually on the smoker long enough to develop an overpowering smoke flavor, so this is a good opportunity to use a stronger wood if you enjoy it.
Allow the pellet grill to preheat fully before adding the meat.
Step 2: Insert the Temperature Probe
Place the tenderloin on the pellet grill and insert a leave-in temperature probe into the thickest part of the roast.
Make sure the tip of the probe reaches the center without passing through to the other side.
Temperature matters more than time during this cook. Tenderloins vary in weight, thickness, starting temperature, and shape, so two roasts of the same weight may not finish at exactly the same time.
Monitor the temperature rather than relying only on the clock.
Step 3: Smoke the Tenderloin Low and Slow
Close the pellet-grill lid and allow the tenderloin to cook.
Avoid repeatedly opening the lid. Every time the lid opens, heat escapes and the cooking environment changes.
The tenderloin is ready to leave the pellet grill when it is approximately 10–15°F below the temperature at which you intend to finish it. Blackstone uses that same 10–15°F window in its pellet-grilled filet mignon recipe before moving the steaks to the griddle.
Blackstone’s reverse-seared tri-tip and tomahawk recipes remove the beef at approximately 120°F before the high-heat sear.
Remember that the tenderloin’s internal temperature will continue rising during the griddle sear and may rise a little more while resting.
Important food-safety note
The USDA recommends cooking whole beef steaks and roasts to a minimum internal temperature of 145°F, measured with a food thermometer, followed by at least a three-minute rest. Anyone choosing a lower final temperature should understand that it falls below that federal safety recommendation.
Step 4: Preheat the Blackstone Griddle
Begin heating the griddle before the tenderloin finishes on the pellet grill.
Set one or more burners to high and give the cooking surface enough time to become thoroughly hot.
An infrared thermometer is the most reliable way to measure the griddle’s surface temperature. Blackstone recommends using one rather than attempting to estimate heat by holding your hand over the cooking surface.
You want a surface hot enough to brown the meat quickly.
Add a small amount of high-heat oil and spread it across the searing area immediately before transferring the tenderloin.
Avoid using so much oil that the meat begins shallow-frying. You only need enough to improve contact and prevent dry spots.
Step 5: Sear Every Surface
Move the tenderloin from the pellet grill to the hot griddle.
You should immediately hear a strong sizzle.
Allow the first side to make complete contact with the steel, then turn the tenderloin with tongs. Continue rotating it until every major surface develops a dark, flavorful crust.
Do not forget the ends.
Because a tenderloin is round rather than flat, you may need to hold it in position briefly with the tongs to sear each side evenly.
Blackstone’s published reverse-sear methods generally use a brief high-heat finish. Its tomahawk recipe calls for approximately one to two minutes per side with frequent turning, while its tri-tip method uses a three- to four-minute total sear with frequent flipping.
The exact time for your tenderloin will depend on:
- The temperature of the griddle
- The size and shape of the roast
- How dry the exterior is
- Whether oil or butter is used
- How much crust you prefer
- The internal temperature when it leaves the pellet grill
Check the center frequently with an instant-read thermometer. The last few degrees can arrive quickly.
Step 6: Add Butter, Garlic, and Herbs
This step is optional, but it adds a steakhouse-style finish.
During the last minute of the sear, lower the heat slightly or move the tenderloin to a moderately hot section of the griddle.
Add butter, crushed garlic, rosemary, or thyme beside the meat. As the butter melts and becomes aromatic, roll the tenderloin through it or carefully spoon the butter across the surface.
Blackstone also uses butter, garlic, rosemary, and thyme during the finishing stage of its reverse-seared tomahawk recipe.
Do this near the end. Butter and fresh garlic can burn quickly on a griddle that has been preheated for searing.
Step 7: Rest Before Slicing
Remove the tenderloin from the griddle and place it on a clean cutting board.
Let it rest before slicing.
Blackstone’s reverse-sear recipes recommend resting the finished beef for approximately five to ten minutes.
Resting gives the meat time to settle after cooking and allows the internal temperature to stabilize.
Do not tightly wrap the roast in foil. A tight covering traps steam and can soften the crust you just worked to create. A loose foil tent is sufficient when needed.
Step 8: Slice and Serve
Remove the butcher’s twine.
Slice the tenderloin across the roast into medallions. Thicker slices make an especially impressive presentation and help the meat retain heat.
Finish with:
- Flaky salt
- Freshly cracked pepper
- Garlic-herb butter
- Horseradish cream
- Chimichurri
- Mushroom sauce
- Red-wine reduction
Beef tenderloin pairs well with simple sides that do not overpower it.
Try serving it with:
- Griddled asparagus
- Sautéed mushrooms and onions
- Crispy potatoes
- Green beans
- A simple salad
- Macaroni and cheese
- Griddled rolls
You can prepare several of those sides on the Blackstone while the meat rests.
Why Temperature Control Matters
Beef tenderloin is lean.
Unlike brisket, pork shoulder, or ribeye, it does not contain a large amount of fat that can protect it from overcooking. Once the tenderloin moves beyond the doneness you prefer, there is no way to reverse it.
That makes a quality thermometer one of the most important tools in this recipe.
Use the leave-in probe to monitor the slow-cooking stage and an instant-read thermometer during the griddle sear.
Check the center from more than one angle, especially if the tenderloin is irregularly shaped.
The goal is not to cook by instinct alone. The goal is to use the thermometer so you can repeat the result.
Common Reverse-Sear Mistakes
Moving to the griddle too late
If the tenderloin is already at its final temperature when it leaves the pellet grill, the griddle sear will push it beyond the desired doneness.
Build in the 10–15°F finishing window.
Using a griddle that is not hot enough
A moderately warm griddle will continue cooking the interior while the outside slowly browns.
The finishing surface needs to be properly preheated so the crust forms quickly.
Putting wet meat on the griddle
Surface moisture works against browning.
Pat the tenderloin dry before seasoning and avoid adding wet sauces immediately before the sear.
Leaving one side down too long
The goal is to develop a crust around the entire roast.
Turn the tenderloin regularly and monitor its internal temperature throughout the process.
Forgetting the thinner portions
When working with a whole tenderloin, the narrow end may cook faster than the center.
Fold and tie the tail, separate the tenderloin into sections, or remove thinner portions earlier when necessary.
Slicing immediately
Give the tenderloin time to rest before cutting into it.
Those extra minutes also give you time to finish the side dishes and prepare the serving platter.
Can You Prepare It Ahead of Time?
You can trim, tie, and season the tenderloin earlier in the day.
Keep it refrigerated until you are ready to cook.
The reverse-sear process itself is best completed in one cooking session. The USDA advises against partially cooking meat and finishing it later because harmful bacteria may survive the first stage and multiply before cooking resumes.
Once the tenderloin begins cooking, continue through the pellet-grill stage, griddle sear, and final rest.
Leftovers
Refrigerate leftover beef promptly.
The USDA recommends refrigerating perishable food within two hours—or within one hour when the outdoor temperature is above 90°F. Cooked leftovers should generally be used within three to four days and reheated to 165°F.
Thinly sliced leftover tenderloin is excellent for:
- Steak sandwiches
- Cheesesteaks
- Breakfast hash
- Steak and eggs
- Salads
- Tacos
- Flatbread pizzas
Just be careful not to overcook it during reheating.
Final Thoughts
Reverse-seared beef tenderloin is a perfect example of why having multiple Blackstone cooking options can be so useful.
The pellet grill handles the slow, controlled cooking and adds wood-fired flavor.
The griddle delivers the intense direct heat needed for a deep crust.
Neither piece of equipment has to do everything.
Each one performs the part of the cook it handles best.
The result is a tenderloin with an evenly cooked center, smoky flavor, and a beautiful seared exterior. It looks impressive enough for a special occasion, but the method is straightforward once you understand the temperature stages.
Low and slow.
Hot and fast.
Rest, slice, and serve.
That is the best of both worlds.
Leave a Reply